How to Delete Ransomware Trojans
If you have fallen victim to a police Trojan or another ransomware Trojan, you can use a cleaning CD, DVD or prepared USB stick to delete it. This article will show you how!

1. You will not be able to access your data while your PC is infected. You therefore need to download the HitmanPro software as described above and use it to create a USB cleaning stick.
2. Use the cleaning stick to boot up your PC and then start a scan in order to find the Trojan. HitmanPro will fully delete the Trojan from your system once it has been detected.
3. Once you have restarted your PC one final time, your Windows system will be completely clean and you will be able to access your data again.
Once a Trojan has infected and locked your PC, there is nothing you can do without using additional tools. First you will require a second PC on which you can use free software to prepare a cleaning stick or CD/DVD. You can then use this stick or disk to remove the infection from your PC and regain access to your data in their previous form.
The text below will first explain how you can use the USB stick tool from HitmanPro to clean your PC. We will then tell you how to burn a rescue CD from Avira or Kaspersky that you can use to clean your computer.
The USB Cleaning Stick
The tool HitmanPro can be used for free for up to 30 days and enables users to create a cleaning stick using a simple procedure, namely:
1. Visit the website www.surfright.nl/en/downloads/ and download the suitable 32 or 64-bit version of the tool. Please bear in mind that the version downloaded should be suitable for the guest PC on which you will create the cleaning stick or CD!
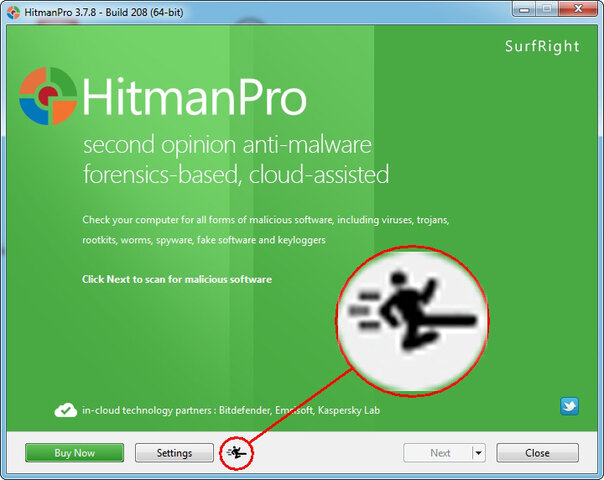
2. Launch the downloaded file. You do not need to install the software; it will work immediately. Once the software has launched, you will see a symbol featuring a small man in the bottom left corner of the window. Click on this symbol in order to start the dialogue that will enable you to create a USB cleaning stick. Insert the stick. The tool will then format the stick (meaning that all old data will be permanently deleted!), make it bootable and install the cleaner software.
3. Insert the stick into the infected Windows PC and launch it. As soon as the PC starts up and displays the start screen, you need to ensure that the stick is launched instead of Windows. In order to do so, you will need to press a key. The key depends on the computer being used but is normally [F12]. Other computers may instead use [ESC], [F8] or [F10]. Once you have pressed the correct key, you can use the selection menu to choose to boot up the PC from the stick.
4. Once the stick has been launched, press "1" to skip the MBR (master boot record). HitmanPro will then automatically start up and offer to scan and clean your PC. Simply select “Next” to confirm the action.
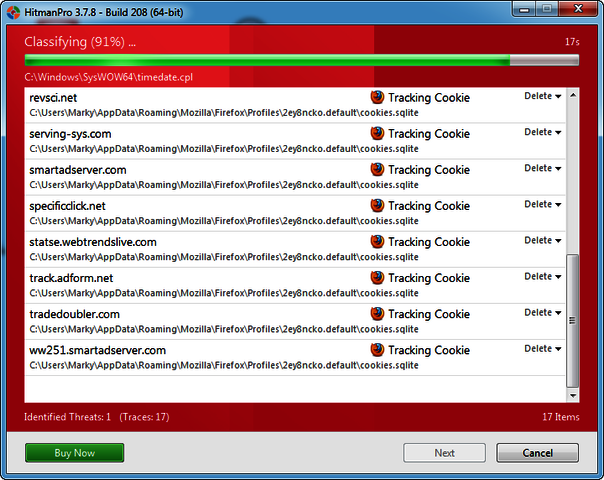
5. Once HitmanPro has found the Trojan, the window background will turn red and display a list of all of the locations in which the Trojan was detected. Make sure that "Delete" is selected for each entry and then click “Next”. The tool will now clean your PC and even request a restart for the final cleaning stage.
6. After the restart, Windows will launch as normal. Run the software on Windows again in order to confirm that the Trojan has been fully deleted. It should display a blue screen that confirms that your system is clean.
Using a CD/DVD to Clean Your PC
A large number of manufacturers now offer ready-made cleaning or rescue CDs. Two well-known tried and tested examples of such CDs are those from Kaspersky and Avira.
These two CDs can be downloaded from the following links:
Kaspersky Rescue Disk 10
support.kaspersky.com/en/viruses/rescuedisk
Avira Rescue System
www.avira.com/en/download
In both cases, you need to download the .ISO file. When downloading the Kaspersky disk, you will need to click on the “Distributive” key in order to do so.
Burning ISO Files onto CD
An ISO file is a digital image of the contents of a CD. You therefore only need to burn this image when using Windows 7 or 8, which have their own function that enables them to do so. If you are still using Windows XP, you need to install the tool Imgburn (www.imgburn.com) and use it to create the cleaning CD. The software is self-explanatory.
The following steps apply for users of Windows 7 or 8:
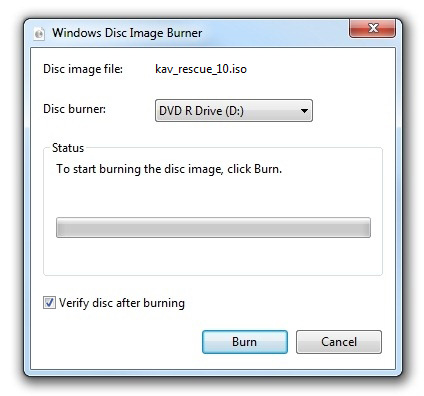
1. Right-click on the downloaded ISO file in the File Explorer and select the “Burn disk image” option. If this option is not displayed, right-click on the file and select the “Open with” option followed by “Windows Disk Image Burner”.
2. The next window will ask you to insert a disk. Insert a blank CD, activate the “Verify disc after burning” option and click on "Burn”.
3. Once the CD has been burned, which will take a couple of minutes, it is ready to be used to boot up your PC.
Using the Cleaning CD to Boot Up Your PC
Insert the CD and restart your PC. As soon as the PC starts up and displays the start screen, you need to ensure that the CD is launched. In order to do so, you will need to press a key. The key depends on the computer being used but is normally [F12]. Other computers may instead use [ESC], [F8] or [F10]. You will then be shown a list of hard drives, sticks or CD/DVD drives from which you can select your temporary boot device.
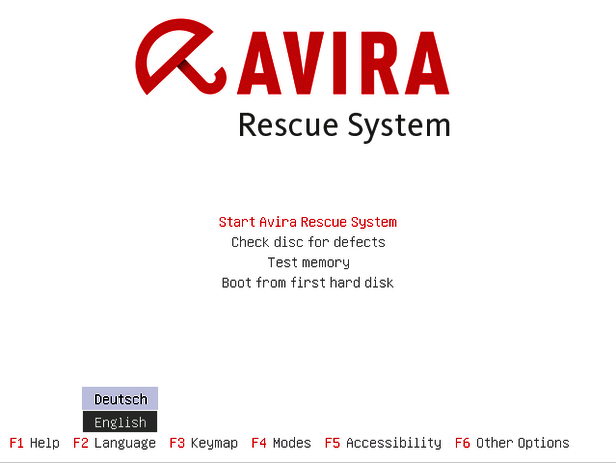
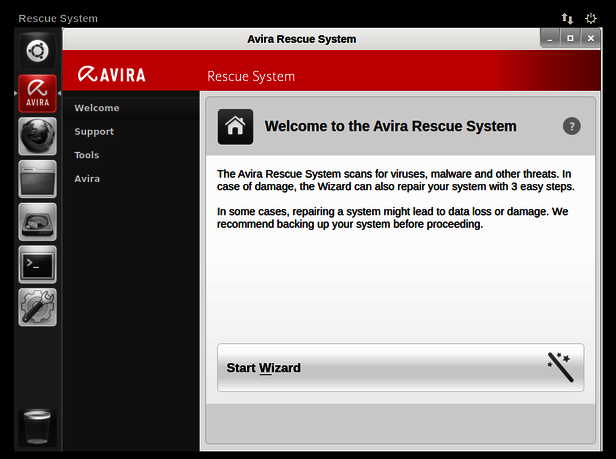
The next steps will almost take place automatically. The cleaning CDs scan the entire PC for malware and delete any pieces of malware detected from the system. When using the Avira CD, use “F2” to select your desired language and then launch the Rescue System. Once the system has loaded, an assistant will help you to carry out the rest of the steps required.
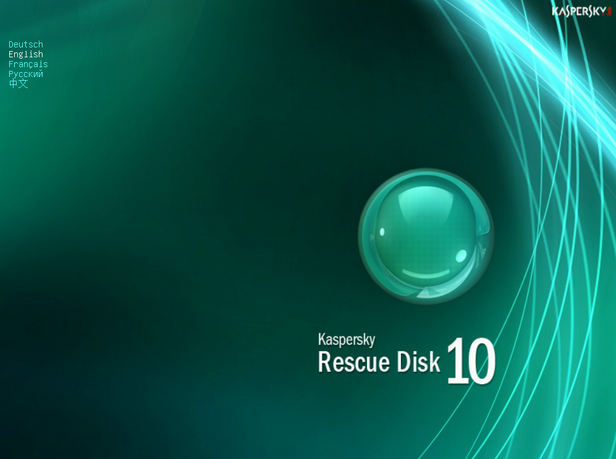
When using the Kaspersky CD, press any key to access the menu after the system has loaded. You will then need to choose your desired language before selecting “Kaspersky Rescue Disk Graphic mode”.
If you have any problems when using the Kaspersky CD, the following instructions should help you further:
support.kaspersky.com/8005
The Avira website also contains instructions as to how to use the cleaning CD:
www.avira.com/en/download
Our Final Tips for More Security
If you have not yet installed any security software, visit the "Test Reports” section of the AV-TEST website to find out which protection software is currently the best. If you have already installed a protection suite but the Trojan simply slipped through the net, you should consider changing to a more secure software option. You can find free information on our AV-TEST tests at: http://www.av-test.org/en/tests/home-user.
Our tip: Some Trojans create a system restore point and use it as a hiding place. If Windows restores one of these points due to a problem, the Trojan also returns to the system. You should therefore delete all existing system restore points by pressing the “Windows+Pause” keys before selecting “System protection” on the left, marking the "C" drive in the list and then clicking on " Configure". Complete the command by clicking on "Delete” in the “Delete all restore points (this includes...)" window before selecting “Continue”.


